How To Lay Slate Chippings

Whether you’re a new or experienced gardener, slate chippings are incredibly easy to lay – all you need is some planning, preparation and the right colour and size to match your garden vision.
With a range of stunning colours and sizes to choose from, slate chippings are ideal for adding a splash of colour and texture to any garden, driveway or outdoor design.
There are slight differences in how you lay slate chippings in a garden as opposed to a driveway and this guide provides instructions on how to prepare and lay slate in a variety of different outdoor settings.
We will also discuss which slate products and sizes are most suitable in each area. If you require any further advice, our Ultimate Guide to Slate Chippings provides more information.
How to lay slate chippings in the garden
Laying slate chippings is relatively easy and just requires a little planning and some manual work - in the form of carrying bags/loading them in a wheelbarrow and light digging.
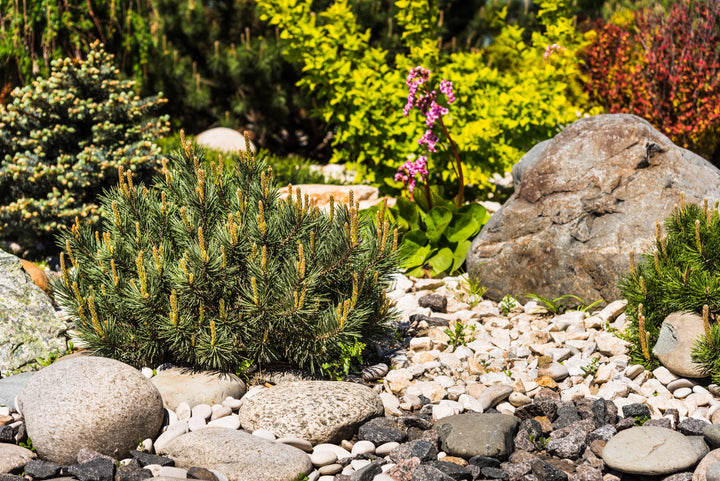
Slate chippings are an attractive and versatile choice that will quickly transform most garden areas. The procedure for laying the chippings is similar whether you are considering improving your borders, creating pathways or adding that all important finishing touch to an eye-catching water feature.
Step 1 - Choose the ideal slate chipping for your project

Before you get to work on your slate garden project, it is important to decide on the colour and size of slate chipping that will work best in your garden setting. Slate chippings are available in four sizes, ranging from 2-14mm Mini Mulch, 20mm, 40mm and 50-150mm with the decorative blue and plum Slate Paddlestones.
If you have your heart set on creating a beautiful new slate path for your garden, the flatter texture of 20mm slate chippings makes them the ideal choice as they are easier to walk on than larger slate chippings.
Alternatively, the chunkier nature of larger 40mm slate chippings provide an open-textured attractive finish for ground cover or surrounding ponds.

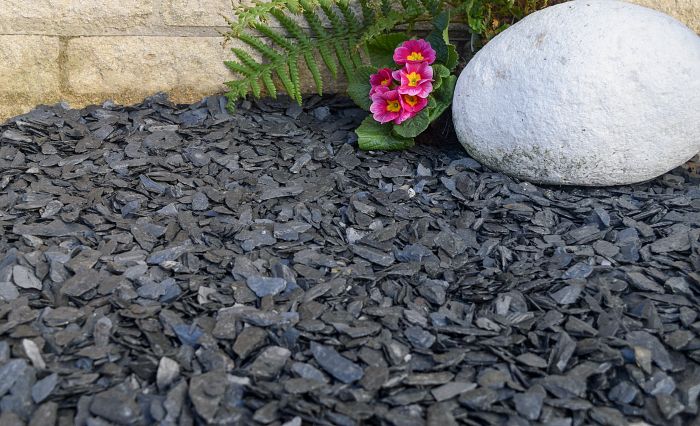
There are many slate colours to choose from. At Decorative Aggregates, we stock a variety of stunning decorative slate chippings from Green Slate Chippings to Blue to Plum and Graphite Grey.
Slate adds a touch of magic to any theme or design you want to create and complements all sizes and styles from modern and contemporary to a traditional English garden.
Graphite Grey Slate 40mm looks particularly striking when wet. The natural grey tones darken to a lovely charcoal hue which offset a tranquil water feature, pond or waterfall beautifully.
Green Slate Chippings are available in both 20mm and 40mm sizes and the natural shades of green from light to medium act as the perfect backdrop to all planting areas.
For creating a large, colourful ground cover or for adding texture and contrast to water features and rockeries, the larger Blue and Plum Slate Paddlestones provide a lovely flat finish. Although these stunning slate paddlestones can be walked on, they are not recommended for paths or driveways due to their size.
Plum and Blue Slate Mini Mulch is an eco-friendly slate product that is created as a recycled by-product of the slate tile manufacturing process. It ranges in size from 14mm down to 2mm. With gorgeous shades of plum and blue intermingled, these colourful slate chippings are ideal for paths, patios and groundcover. Due to their small size, we do not recommend Mini Mulch for use on driveways as the surface will not be stable under pressure and may stick between tyre treads.
For slate pathways and patios, flat Blue Slate Chippings 20mm featuring a natural range of colourful tones - from blue to grey to plum - are a classic choice.

Step 2 – Calculate how much slate you need
We have removed the guesswork and put together a helpful slate calculator to help you work out exactly how many bags you need. Simply enter the width and depth of the area you want to cover and our calculator will do the rest.
How deep should slate chippings be?
For the majority of garden projects, mini mulch and 20mm slate chippings should be laid approximately 4-5cm deep.
40mm slate chippings are best laid 5-6cm deep.
The larger 50-150mm Slate Paddlestones should be laid slightly deeper at approximately 6cm, and despite their larger size they will settle down well. However, due to their size we do not recommend them for creating paths and driveways.
Step 3 – Mark out the area for excavation
Depending on use, it may be necessary to dig out an area and prepare a base layer of crushed Type 1 MOT to provide added stability. This is only necessary for areas with foot traffic such as slate pathways.
Using string or wooden marking sticks, mark out the specified area for digging.

For areas without foot traffic such as garden borders, edging detail or for planting areas, a sub-base won’t always be necessary. However, we would recommend applying a layer of Weed Prevention Membrane beneath the slate to stop weeds from growing through. This will also help improve drainage.
Step 4 – Dig out the area
Now that your area has been marked out, it’s time to bring out the shovel and start digging.
For slate pathways, we recommend digging to a depth of approximately 4 inches – this will provide space for a crushed Type 1 MOT to go under your slate which will add strength and stability. For a step by step guide on how to prepare a slate pathway base, read our Ultimate Guide To Slate Chippings.
If you’re using slate chippings to improve an area of your garden that won’t be walked on, simply dig out to a depth of 4-5cm (or 5-6cm for larger 40mm chippings) and prepare your weed prevention membrane. The sheet can be placed on and cut to the shape of your slate area. This can sometimes be an awkward shape, but if that's the case, simply overlay cuts of the membrane so there are no gaps.
Step 5 – Add your garden slate chippings

Now that your base is ready, simply lay your beautiful new slate chippings on your garden by shoveling the slate chippings onto the weed prevention membrane. Make sure to distribute them evenly using a garden rake.
How to lay slate chippings - project summary
- Choose the ideal slate chipping colour and size for your project.
- Calculate how much slate you require using our gravel calculator.
- Mark out the area for excavation.
- Dig out the area to around 4 inches, add a layer of Type 1 MOT and apply a weed prevention membrane. Areas without foot traffic can simply be dug out to 4-5cm.
- Add your slate chippings ensuring they are at least 4-5cm deep and spread evenly with a garden rake.
How to lay slate chippings for a driveway
Concrete, tarmac and block paving – these days, every driveway looks the same. The good news is a slate chipping driveway can be laid yourself and adds instant kerb appeal.
Thankfully, the process is as simple and straightforward as creating a slate pathway or ground cover. However, we would recommend using 20mm Slate Chippings as they tend to be flatter and easier to drive on.
Simply choose your desired slate chipping – ideally 20mm – and mark out the driveway area for excavation.
Dig out the desired area to a depth of approximately 4 inches and flatten the base using a flattening tool - these can be rented from your local hardware store. Then, add a layer of approximately 10cm of Type 1 MOT.
MOT Type 1 aggregate is a bulk fill and levelling material that will ensure your driveway remains stable and doesn’t sink under the weight of vehicles. The size of the crushed stone ranges from 40mm to dust.
Once the layer of Type 1 has been added, ensure it is compacted using a sledgehammer - a roller may be required if your driveway is large.
Finally, add a layer of Driveway Fabric Weed Prevention Membrane. This will prevent any unwanted weeds from protruding through your slate and allow water to drain through the surface. Simply cut to your desired shape and apply to the crushed limestone base.

Now that the base is fully prepared, shovel your decorative slate chippings onto the weed membrane, ensuring they are laid at least 6cm deep. Use a garden rake to spread the slate chippings evenly and enjoy your beautiful new slate chipping driveway.
Frequently asked questions
Where can slate chippings be used?
Slate chippings can be used in a range of outdoor features including rockeries, water features, mulch, garden borders, edging, and ground cover. slate chippings can also be used to fill gaps between slabs.
As slate chippings are flat, smaller sizes can be walked on and used to create practical yet stunning walkways and driveways. Slate chippings are also suitable for patios.
How much does a tonne of slate cover?
This will depend on how deep you intend to lay your slate chippings. We would recommend a depth of 4-5cm for most garden applications, in which case a tonne of slate will cover approximately 10m2.
Can slate chippings be used for driveways?
Slate chippings are an ideal decorative aggregate for driveways and the variety of textures and colours available means there’s a colour to complement any brickwork or style of home.
Can you put slate chippings over concrete?
Slate chippings can be laid directly over concrete, tarmac or paving; however a border may need to be installed to keep the slate in place.
Can you put slate chippings on soil?
Slate chippings can be placed directly onto soil as a highly effective method of mulching.
Do weeds grow through slate?
As slate chippings are porous, weeds can find their way through as with any loose aggregate. However, applying a layer of weed prevention membrane beneath the slate will help protect against any unwanted weed growth.
Is slate good for drainage?
Slate is excellent for drainage. Larger sizes of slate chippings such as 40mm are especially suitable as there are plenty of voids between the aggregate. This also makes slate ideal for ground cover or use as mulch. Slate can even be used to top off plant pots, introducing a lovely contrast or accent colour to the natural plant or flower colours.
You may also be interested in