How To Lay And Maintain A Gravel Driveway In 7 Simple Steps

There’s nothing so welcoming as the familiar crunch of a gravel driveway as you arrive home. If you’re looking to improve the look of your home, laying a gravel driveway yourself is a fun, affordable project that allows you to get creative.
Regardless of your landscaping experience, creating a gravel driveway is really simple and can be achieved by any motivated DIYer.
This step-by-step article will help you ensure your new driveway comes out looking amazing.
What is a gravel driveway?
Gravel driveways are an attractive and affordable exterior surface that can vastly improve the appearance and kerb appeal of your home.
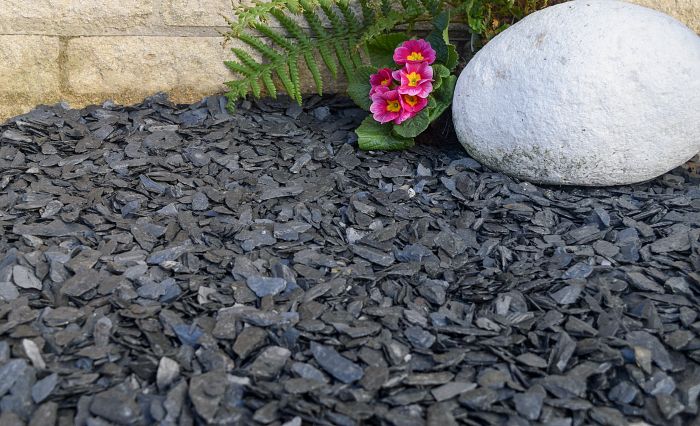
Created from a variety of loose, crushed decorative stones, the choice of gravel colours, shapes and sizes means you can easily personalise the look and feel of your new gravel driveway.
Gravel can be used for a variety of landscaping surfaces, including patios, paths, rockeries, gardens, and decorative edging. However, gravel driveways are an exceptionally popular option due to their wide range of benefits.
How to create a gravel driveway

Materials Required
-
High quality decorative gravel, for a beautiful finish.
-
MOT Type 1 leveling material, for a stable base.
-
Driveway Fabric Weed Prevention Membrane, for water drainage and weed resistance.
-
Decorative boulders, for an extra stylish driveway border (optional).
Step 1: Choose your gravel

The first step to creating a stunning new gravel driveway is choosing your gravel chipping. Gravel is amazingly versatile and suits every style and age of the property.
It's important to consider the type, size and colour of gravel that will be the best for your driveway project. For more information on this first step, click the link above!
Step 2: Measure out your driveway
Once you have decided on your gravel driveway colour scheme, you will need to measure out your driveway. This will allow you to calculate how much gravel you need to order for your project.
To save you trouble, we have designed a helpful gravel calculator tool to do the maths for you.
As a general rule of thumb, one bulk bag of gravel will roughly cover 5m2 at a depth of 50mm, which we recommend for gravel driveways (not including the sub-base).
Step 3: Decide edging for your gravel driveway
Creating a border for your gravel driveway is an important part of the design process, as this contributes to the overall appearance of the surface and can really make the overall design stand out.
Solid block borders look stunning and will help contain the gravel within your driveway area, and different coloured edging can really complement your chosen colour scheme.
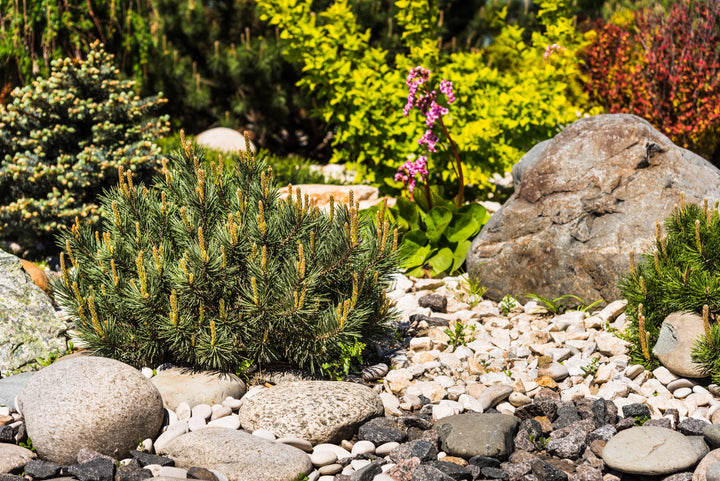
Alternatively, medium to large sized boulders and rockery stones can be used as natural edging for your gravel driveway and they look particularly attractive when used as a barrier between the gravel and any remaining turf or planting areas.
TOP TIP: It’s always a good idea to make sure your gravel driveway edging is tall enough to ensure your gravel stays within the driveway perimeter.
Step 4: Dig the area for your gravel driveway

Before laying your gravel driveway, you must first prepare the area. This may require removing debris, turf, or topsoil.
You will then need to dig out the area to a depth of between 50mm to 200mm. It is important that a minimum of 50mm is left for the gravel, and 150mm for the sub-base if you plan on including one.
Ensure the base of your driveway is flat and compacted. Softer areas may require digging out and reinstating with MOT Type 1. For larger driveways, compacting the base layer may require a roller.
Step 5: Lay the gravel driveway sub-base
We strongly recommend applying a layer of MOT Type 1 to your gravel driveway base.
MOT Type 1 aggregate is a bulk fill and levelling material that will ensure your driveway remains stable and doesn’t sink under the weight of vehicles. The size of the aggregate ranges from 40mm to dust.
Remember to leave at least 50mm between the sub-base and the surface as this will be filled in with your decorative gravel.
Step 6: Add a layer of Weed Prevention Membrane

We highly recommend the use of a Weed Prevention Membrane as this will prevent unwanted weeds from forming and will allow any water to drain through your gravel surface. Cut the sheet to your desired shape and place it on top of your compacted MOT Type 1.
Step 7: Add your decorative gravel
After all that hard work, we’ve arrived at the most rewarding step!
Shovel your chosen gravel onto your laid out Weed Prevention Membrane. Make sure the gravel layer is at least 50mm (5cm) deep and the gravel surface is spread across the surface. Simply rake over the entire area to help distribute the gravel evenly.
Gravel driveway project summary
-
Choose your decorative gravel.
-
Measure out your driveway & calculate how much gravel you need.
-
Decide on the driveway edging you are going to use.
-
Dig the area for your gravel driveway.
-
Install a sub-base using MOT Type 1 aggregate.
-
Add a layer of Weed Prevention Membrane.
-
Top up with your decorative gravel.
How to clean and maintain a gravel driveway

Keeping your gravel driveway looking attractive and clean requires little effort. Here’s how you can keep your new driveway looking pristine all year round:
-
Semi-regularly rake your gravel driveway, especially during the Autumn months, removing unwanted twigs, leaves and other debris. This will also help break up any compacted gravel – a win win!
-
Although a weed prevention membrane is in place, wind-swept seeds may occasionally cause weeds to form. Simply remove these by hand, using gardening gloves. In the areas affected, spray weed killer (or herbicide) containing glyphosate.
For more information about removing weeds from your gravel driveway, read our guide to weed busting.
-
After years of use, your gravel driveway may thin, creating sparse areas. Happily, this is easily rectifiable by topping up the affected areas with more gravel.
TOP TIP: It’s a good idea when ordering gravel to purchase an extra bag or two, that way you can ensure the gravel you use to top up with is the same as the stone used in the original driveway design.
FAQs
How much gravel do I need for my driveway?
To calculate how much gravel you need, we’ve put together a handy gravel calculator. Simply enter the length, width and depth of your area and the tool will calculate how many bags or bulk bags you need - it’s that easy!
For gravel driveways, we recommend a depth of at least 50mm used when calculating how much gravel you need.
How much do gravel driveways cost?
Gravel driveways are relatively inexpensive compared to other options such as paving. The cost of materials will depend on the gravel used, the size of your driveway, whether a sub-base is used and material delivery fees.
For example, using our beautiful Cotswold Gold 20mm as an example, the gravel required for a 6x4m driveway at a depth of 5cm will require approximately 3 bulk bags, with a bulk bag costing from £99.72 (including estimated delivery).
How deep should my gravel driveway be?
If using 20mm gravel, we recommend a depth of at least 5cm or 50mm for the gravel layer, and a depth of at least 15cm or 150mm for an MOT Type 1 sub-base.
Therefore, a gravel driveway should be at least 20cm or 200mm deep, including the sub-base.
For more information, read our ultimate guide to gravel.
Can a gravel driveway be laid on a slope?
You can lay a gravel driveway on a slope, however, to prevent loose gravel from being displaced towards the bottom of the slope, we recommend the use of a driveway grid to hold the stone in place.
How long do gravel driveways last?
Not only are gravel driveways affordable and attractive, but with regular maintenance, a gravel driveway can last for decades. Gravel driveways can be regularly topped up, resulting in a timeless and beautiful driveway surface which is why some last 100 years!