How To Build A Rockery
What is a garden rockery?
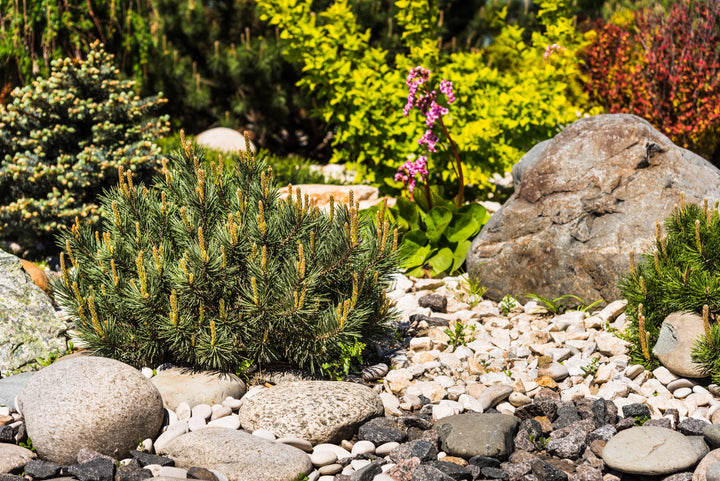
A rockery is often a focal point in a garden; it is usually made up of an arrangement of rocks and alpine plants.
Why should you build a garden rockery?
Rockeries create an incredible impact in any garden design, giving a well-defined space for planting and supporting any raised areas. Rockeries can be used to disguise an area and provide planting to form edging to a path or create an attractive feature area.
There are plenty of benefits to having a garden rockery, both environmentally and aesthetically.
Here are just a few garden rockery benefits:
-
Allow you to extend the range of plants you can grow in your garden. Alpine species thrive in a rockery as rockeries provide a specialist environment for alpine plants which usually grow on mountain slopes with good drainage. A rockery mimics these conditions on a smaller scale.
-
Add structure and an interesting focal point to your garden.
-
They look amazing all year round.
-
Rockeries are durable and can withstand harsh environments and adverse weather conditions.
-
They’re low maintenance; helping you avoid time consuming tasks such as mowing the lawn, and pruning etc.
-
Create depth and diversity to your garden with different shapes, sizes and colours of rocks.
-
A great habitat for wildlife. Butterflies can rest on the large rocks on warm summer days, and the cracks and crevices can provide homes for plenty of smaller bugs.
-
Wildflower rock garden plants are made up of many nectar and pollen rich plants, attracting bees, butterflies and other pollinating insects.

How to design a rockery
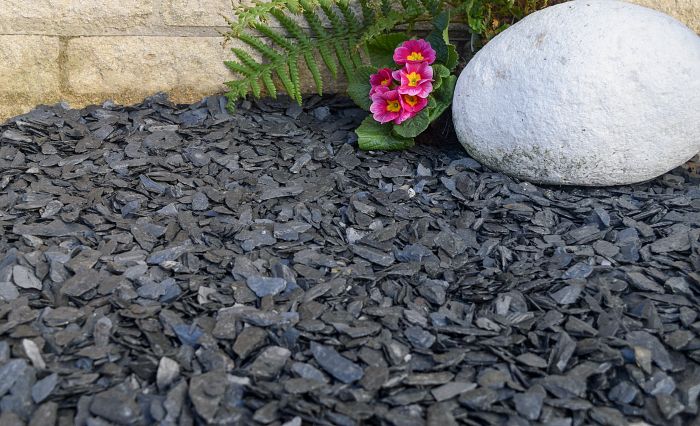
You’ll need several large garden rocks to form the basis of your garden rockery. Rockery stones are usually 200-300mm in size, but for something larger you can use Slate Feature Stones. Beautiful pieces of slate straight from the quarry, these slate feature stones vary; some are cut and others are left in their natural state, and there are mixed colours of plum, green and grey with a subtle hint of gold.
Choosing your rocks
For something more coastal or rounded, pick the Welsh Quartz Boulders; the large ones add a nice contrast to other rocks, gravel and plants, and are quite smooth in texture. They are a natural combination of colours generally ranging from greys, pinks and browns.
For a unique rockery stone, choose the Slate Planters; they are beautiful for planting a small alpine plant or cactus in. The plants then grow happily, cascading over the rock.
Planning
Once you’ve chosen your main rocks, you can design your rockery. The easiest way to do this is to draw the outline on a piece of paper or do a digital drawing. Planning this out beforehand with a sketch of the garden means you can experiment with different sizes and shapes until you’re pleased with the layout.


What you need to create a rockery
In order to build a rockery, you will need:
-
Marker spray or string for marking out your rockery area.
-
Spade for moving soil.
-
Trowel for planting.
-
Crowbar for moving rocks into place permanently.
-
Weed control membrane - to lay under gravel and prevent weeds.
-
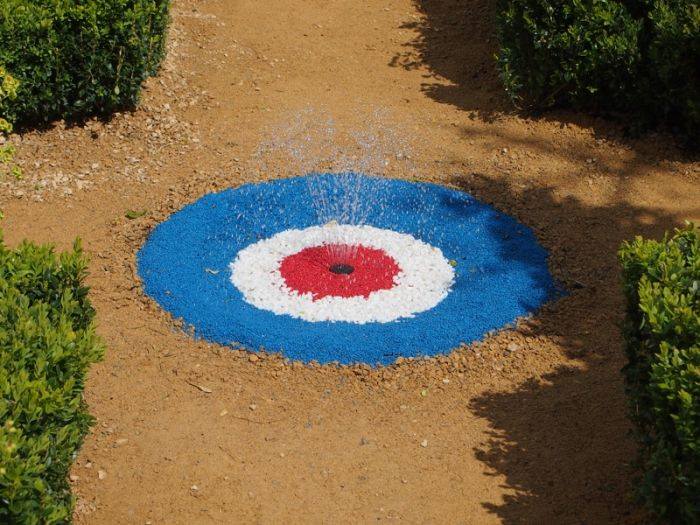
Gravel and stones for ground cover and mulch.
-
Coarse rubble/ broken bricks/ pea shingle - to form a base layer.
-
Different sized rocks – large rocks for the centre pieces and smaller stones to create planting pockets.
-
Topsoil and compost - to plant into.
-
Alpine plants.
-
Some strong friends - for moving heavy rocks.
Steps to Build a Rockery
1. Choose your rockery location
You need to choose the ideal location for your rockery. You’ll want to have the best light possible, so it should be away from trees, high walls and shrubs.
Rockeries can be large or small. For rockeries on a very large scale, you’ll need earth moving equipment, but we’ll be focusing on small-medium sized garden rockeries, and normal garden tools will be fine for this. Additionally, you can build your rockery on a level surface or a slope.
However, if you do build on flat ground, you’ll need to dig into the soil or create a mound.
2. Mark out your garden rockery area
Using your design, mark out the area of your garden rockery with string or marker spray.
3. Clear the area and lay a base
Remove any turf and weeds from the area. Then add a layer of coarse rubble, broken bricks, stone, or pea shingle, at about 15cm deep.
You’ll also need to lay a weed prevention membrane, this allows water to drain away from your gravelled surface, whilst also preventing weeds and grass from growing through. Then add a layer of gravel or small rocks in order to improve drainage.
4. Set your large rocks
First, set your largest focal rocks (keystones). A crowbar can be used to move stones into a permanent position. Bed these in with weed-free topsoil, and then fill the rest of your area with smaller garden rocks to support these keystones. Again, bedding these in with topsoil. It’s a great idea to position these smaller rocks to create pocketed areas for your plants. When you get to planting, you’ll have an area laid out for these already.
5. Plant and lay mulch
Plant your alpine plants and lay ground cover. Gravel works perfectly for this as a layer of mulch. You can see our range of gravel that’s perfect for this here.
The next section explains more about how you plant into your rockery and lay gravel.

How to plant a rockery
Water your plants and place them whilst they are still in their pots onto the rockery. Allow enough space for their full size.
Carefully take the plants out of their pots, and plant them into compost. Once firmly set into the compost, dress the top with gravel.
What plants are suitable for a rockery?
Here are a few alpine plants that work really well in a rockery:
-
Wild Basil Clinopodium vulgare
-
Maiden Pink Dianthus deltoides
-
Wild Marjoram Origanum vulgare
-
Common Toadflax Linaria vulgaris
-
Wild Clary Salvia verbenaca
Answers to your FAQs
How to build a rockery in the shade
Ideally, rockeries are built in high sunlight, however, you can build a rockery in partial shade. You should choose plants that thrive in shade, rather than sun.
Here are a few plants that prefer shade:
-
Acaena
-
Ranunculus ficaria
-
Chiastophyllum oppositifolium (lamb’s tail or gold drop)
-
Leptinella
These shade-loving plants are very leafy and when fully grown, they may cover your rocks.
How to make a rockery on flat ground
If you need to make your rockery on flat ground, you can make your own mound - this is also known as a berm. The benefit of a berm is that it naturally slopes down, helping with drainage.
You can also build a raised bed instead; this needs to be an elevated pitch upheld by walls. You’ll need to dig down approximately 3 ft for a raised bed, and to create a slope.
How to build a rockery on a slope
If you already have a gentle slope in your garden, with a lot of sunlight, this is the ideal area to build a natural-looking rockery.
Even though you already have a slope, you’ll still need to remove any turf and weeds from the area. Then add a layer of coarse rubble, broken bricks, stone, or pea shingle, at about 15cm deep.