Simple Guide To Laying A Gravel Garden Path
Maintaining a pristine garden presents a variety of challenges, including physical, financial and creative. The desire for clean and attractive garden features, with minimal maintenance and cost, has led to the increasing popularity of gravel surfaces.
Gravel paths are an elegant, versatile and highly durable option for your garden, with minimal maintenance required if laid properly. This guide will show you how to lay a cost-effective and long-lasting gravel path for your garden, without needing to hire contractors.
Step 1: Planning the gravel path for your garden
The first questions you need to ask yourself include where you would like your gravel path to start and finish, how wide you want the path to be and, of course, how much you would like to spend.
The longer or wider the gravel path, the more gravel or aggregates you will need to order, so make sure you calculate exactly how much you will need to order to prevent coming up short and delaying your project.
You can plan the precise route of your gravel path in advance with string or marking paint but try different ideas too. The most obvious path route may not necessarily be the best. You must also ensure the base surface is suitable for a gravel path; steep inclines in particular should be avoided.
Step 2: Choosing your aggregates
There is a near-limitless variety of aggregates and gravel combinations to choose from for a path and each variety has its own strengths and best applications.

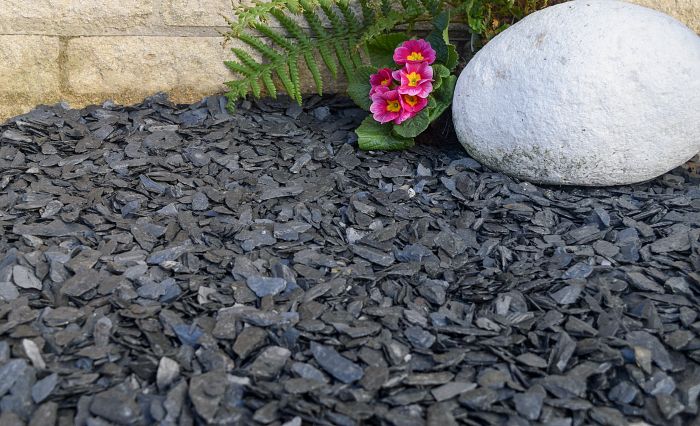
If, for example, your path is to be on sloped ground, we recommend a 20mm slate chipping or Cotswold Golden path 10mm aggregates; these can easily cope with uneven ground, particularly when it rains. Generally, gravel up to 16mm is considered most suitable, while 20mm slate is also useful for forming a flat and comfortable walking surface.
Explore and get creative; there will always be an ideal aggregate for your desired path, but you could also discover something completely fresh and new.
For a contemporary look on your gravel path, there's no better choice than our stunning Polar White Marble 20mm.
If you're looking for a warm, beautiful gravel path, try our Pea Gravel 10-14mm - an extremely versatile quartz aggregate.
Browse our range of lovely gravels and aggregates for your garden path here.
Step 3: Marking & Preparation
It’s time to mark out the final route for your gravel garden path; you may have already done this as part of step 1. There are loads of ways to mark your route. We recommend using rope, string, line-marking paint or even your garden hose. Once you are satisfied with the planned route, it’s time to dig.
Step 4: Dig your edging trench

At this stage, you want to remove the topsoil within your marked area to form a trench. Aim for a depth of around 4 inches and use a square edge spade to ensure the sides of the trench are straight and even. When finished, you should then smooth the bottom of your trench with a rake and compact it using a tamper or other flattening tool.
Step 5. Enclosing your path area

Once nice and compact, your trench requires a border to help keep the gravel neatly contained. There are several types of border to choose from, including metal edging, bricks, wood and stone. These borders should cover both sides of the path. Check out the example image above; this person has used contrasting coloured bricks to form an attractive and robust border.
Step 6: Line trench with crushed stone
A very simple but very important step is to line the smooth and compacted soil at the bottom of the trench with crushed stones. This should be about 10cm of hardcore, which must be level across the garden path area. Always ensure the crushed stone is compacted once applied with either a sledge hammer or plate compactor, which you can hire out from your local DIY store.
Step 7: Add a weed resistant membrane
Including a permeable membrane between the base of the trench and the top layer of gravel is highly recommended. A membrane will ensure the gravel does not mix in with the base layer of hardcore or the soil beneath, and is also a strong, permeable and will prevent weeds from sprouting through your gravel.

Simply place your weed resistant membrane on top of the crushed stone later before cutting and shaping to fir the entire path area, overlapping at the cuts on the inside of curves.
Step 8: Laying your gravel surface

Once your weed prevention membrane is set down, it’s time to finish things off and distribute your gravel carefully across the top. Always ensure an even coverage with a depth of at least 2-3cm. The gravel can simply be shovelled on to the membrane and then distributed with a garden rake.
Considering creating a gravel driveway? Read our simple 7 step guide here.
Maintenance tips
A gravel path for your garden is certainly a low maintenance solution. With these simple, easy and affordable maintenance tips, you can rest assured your gravel path will last for years and years.
- Make sure the entire path area and its surroundings are well weeded before the path is laid.
- Rake and tidy up any moved aggregates as regularly as you can to maintain an even surface.
- Stay on top of low spots (or pot holes). These can be unavoidable after difficult weather but can be prevented through regular raking. To solve this, simply widen the pothole and fill the entire area with fresh new gravel.
- Expect to lose and replace a little gravel over time. General wear and tear can result in redistribution of loose gravel, especially after difficult weather. It’s a good idea to have some spare gravel of the same colour and size to top up every so often.
Want even less maintenance? Try a resin bound system

A resin bound system mixes natural aggregates, gravel or other materials with a clear resin. This is then spread onto a base for an attractive and flat gravel surface, but one that is fixed in place by the resin. With a resin bound system, there is no need to worry about stones being kicked up or lost. It is also permeable and can help prevent flooding.
Last Updated: Wednesday 3rd March 2021 at 09:14am


