Gravel Grids: Everything you need to know
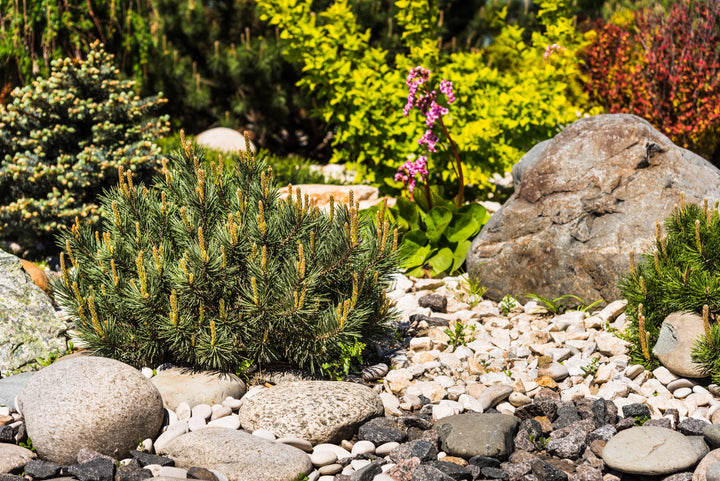
Gravel and other loose aggregates are popular choices for paths and driveways here in the UK due to their affordability, versatility, and their beautiful, natural look. However, their loose nature does bring with it some maintenance requirements, including sweeping and raking due to displacement over time.
This is where gravel grids come in.
Designed to stabilise loose aggregates, gravel reinforcement grids ensure an even distribution of quantity and weight, reducing the risk of shifting gravel and creating a more robust and easy-to-manage surface. But how do these simple grids work and are they easy to install?
In this guide, we explore how gravel grids can boost the longevity and appearance of gravelled areas, making them a smarter choice for any outdoor project. We also provide a step-by-step installation guide, and answer some of the most commonly asked questions about these smart plastic panels.
What are gravel grids and how do they work?
Gravel grids are a system of interlocking panels made from durable plastic that sit underneath a gravel layer to keep it in place. They feature a honeycomb-style structure that holds each stone where it belongs, preventing it from spreading or sinking over time.
Designed to be strong yet lightweight, gravel grids can be used for everything from domestic driveways to heavy-traffic commercial areas.
What are gravel grids used for?
Gravel grids are used to prevent aggregates in gravel-based driveways and pathways from becoming displaced. The idea being, once gravel has been poured over the grid and levelled off, the walls of each individual pocket will hold the gravel in place, preventing displacement. They can also stop weeds from appearing on your driveway or path by creating a stable barrier that minimises gaps and prevents weeds from taking root through the surface.
Do gravel grids work?
When installed correctly - as we outline below - gravel grids work very effectively. They create a solid framework that holds aggregates in place, ensuring they settle evenly. This works to prevent common issues such as bare patches from appearing or gravel being washed away during heavy rain.
Over time, this stability can also help to maintain a stable and even surface. This doesn’t just improve the appearance of gravel driveways and pathways, it also makes them safer and more user-friendly. Whether you’re wearing heels or flats, the hard, even surface created by the GravelX Prodrive 30 Gravel Stabiliser Grid, for example, provides better balance and a more comfortable walking experience than loose gravel surface. Instead of sinking into loose gravel or navigating uneven patches, you can move across the surface with ease. For this reason, gravel grids are also well-suited for various types of mobility aids including wheelchairs, mobility scooters, and children’s buggies. These aids can travel smoothly across the gravelled surface without risk of sinking or slipping.
Finally, one of the other key benefits of gravel grids is their impact on drainage. This is because grids help to reduce puddling and surface water runoff by supporting the gravel and allowing water to pass through the permeable structure. This means your gravel driveway or pathway is more likely to remain functional and safe even in adverse weather conditions.
How to lay gravel grids
Here at Decorative Aggregates, our gravel grids are very easy to install yourself. They don't require any special training or specific tooling to lay. To help get you started, below we have put together a simple-to-follow step-by-step guide.
Step 1: Prepare the ground
Before you lay your gravel grids, you should start by preparing the area. To do this, remove any loose surface soil, weeds, roots and other debris. Once the area is clear, level the ground using a rake. See our guide to installing and maintaining a gravel driveway for more information on this.
It’s worth noting that our gravel grids can be placed over an existing tarmac or concrete base as long as it is firm and stable. If this is the case, a weed prevention membrane may not be required.
Step 2: Measure the area
After your area has been cleared, you will need to measure it. This will allow you to calculate how many grids, and subsequently how much gravel, you need to order for your project. When it comes to quantity of grids, it's important to note that our own range of Prodrive Gravel Stabiliser Grids are supplied in sheets of 1200 x 800mm and can be purchased in quantities of 10 - up to 75 sheets. Similarly, if you are using our grids, for optimum coverage we recommend the following when it comes to aggregate quantity:
-
1 x Bulk Bag - 10 Grids
-
1 x 50 Maxi Bags - 12 Grids
-
1 x 25 Maxi Bags - 6 Grids
To help you get the right amount of gravel, we also have a helpful gravel calculator tool to do the maths for you.
Step 3: Install a sub-base
If you’re not laying your gravel grids directly on an existing stable surface such as tarmac or concrete, you’ll need to create a solid sub-base to support the grids and gravel.
To do this, dig down to a depth of around 75-100mm. The sub-base itself should then be made of a material like crushed stone, MOT Type 1 or sharp sand, which provides a solid foundation for the grids. Spread the material evenly over the area, then use a compactor plate or roller to compact it thoroughly, ensuring it’s firm and level.
Step 4: Position the grids
Once the area has been prepared, it’s time to lay the grids. Start at one corner of the area in question and work your way out, interlocking the grids as you go. Our grids are very easy to install. Their interlocking tabs can be simply tapped into place using a rubber mallet.
Step 5: Fill with gravel
When your grids are in place and covering the entire surface area of your new gravel drive/pathway, you can start to fill the grids with your gravel or aggregate of choice.
Once you have covered the entire surface of your gridded area, use a rake to make sure the gravel is evenly distributed, ensuring all viable gaps and spaces are filled.
Step 6: Compact the gravel
When your gravel has been evenly distributed across your grids, it will need compacting. Although this will also continue to occur naturally over time, it's a good idea to gently compact the gravel to ensure a stable and even surface. This can be done with a roller or rented wacker plate.
Step 7: Remove any excess gravel
Finally, if after the compacting process parts of the surface are still uneven or loose, simply remove any excess gravel. This can be done with a rake or outdoor brush.
Gravel grids FAQs
What are gravel grids made from?
Most gravel grids are made from polypropylene. The GravelX Prodrive 30 Gravel Stabiliser Grids we stock, for example, are made from recycled polypropylene with a fully bonded geotextile membrane. This helps stop weed growth and provides an easy way to install a low cost, permeable alternative to tarmac or traditional paving.
Can you use gravel grids on a slope?
Yes, gravel grids are a good solution for sloped surfaces. Their interlocking structure helps keep gravel in place, preventing it from sliding downhill or shifting as a result of heavy rainfall. However, it’s important to note that for steeper slopes, ground anchors may be needed to secure the grids in place for additional stability.
Can you lay gravel grids on soil?
As touched on above, in order to install gravel grids on an area of soil, we recommend you create a sub-base first. A sub-base will help with drainage and help prevent pooling. It will also create a stable surface for the gravel grids to sit on, stopping the grids from shifting or sinking over time. For the best results, we also recommend using weed control membranes beneath the grids to prevent weeds from appearing through the gravel surface if you are installing on a newly created sub-base.
Can you put gravel grids on concrete?
Most gravel grid solutions, including our GravelX Prodrive 30 Gravel Stabiliser Grids, can be installed directly onto concrete. This method is ideal for creating a decorative gravel driveway or path quickly over an existing solid surface. A bonus with this type of installation is that since the concrete provides a stable base, there’s usually no need for additional ground preparation or for a weed membrane to be used. However, it’s important to make sure the surface is totally clear of debris, clean and level before installation.
How much gravel do I need for gravel grids?
As discussed, the amount of gravel required to fill your grids depends on the size of your project and the type of grid system you’re using. However, if for example you are using GravelX ProDrive Gravel Stabiliser Grids, one bulk bag of gravel typically covers 10 grids.
What size gravel do you use for gravel grids?
Most gravel grids, including GravelX ProDrive Gravel Stabiliser Grids, work best with gravel measuring between 6mm and 20mm in size. However, it can help to remember that more angular varieties of gravel interlock most effectively, providing a stable surface that resists displacement. On the other hand, rounded pebbles and stones have a habit of not settling quite as effectively and therefore can compromise a surface's stability.
Tips for best results
-
Always use a weed membrane beneath the sub-base to prevent unwanted growth.
-
Choose a gravel size between 10–20mm for best stability and appearance.
-
Compact the gravel lightly after filling to ensure a firm, even finish.
-
If installing on a slope, secure the grids firmly to avoid movement over time.
Looking for more information?
For further information or advice on gravel grids and to explore our extensive range of gravel, aggregates, and other accessories, browse the entire Decorative Aggregates site today.
Alternatively, get in touch. Our expert team is always available to provide advice and help you find the perfect solution. Call us today on 01629 630 256 or browse our website for more details.